Properly Ironing a dress shirt can be daunting, especially if you’ve never done this before. You want to ensure that the shirt looks good and that you don’t damage the fabric. Luckily, there is a simple and easy way to iron a dress shirt. With the right techniques, you can ensure that your dress shirt looks sharp and wrinkle-free every time you put it on.
So how long does it take to iron a dress shirt? The amount of time it takes to iron a dress shirt varies depending on the shirt’s size, the fabric type, and the iron’s temperature. Generally speaking, it takes about 5-10 minutes to iron a dress shirt. However, if the shirt is particularly large or made of thicker fabric, it may take more time.
Follow these steps, and you’ll be able to achieve a crisp, wrinkle-free look in no time. Not only will you save time and energy, but you’ll also look sharp and put together for any special occasion.
How to Iron a Dress Shirt in 90 Seconds
We make a small commission from our affiliate partners whenever you purchase through links on this page. Learn more
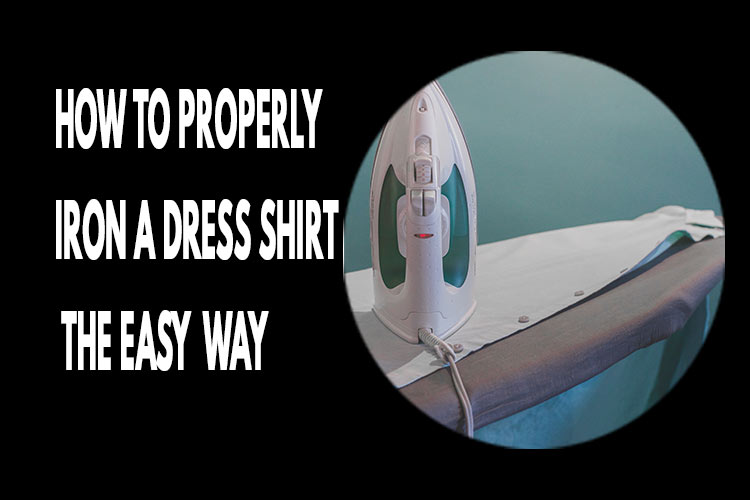
How to Iron Dress Shirt Step By Step
Step 1: Check the fabric of your dress shirt. Before you begin ironing, you need to check your dress shirt’s fabric and ensure it is suitable for ironing. Always read the instructions on the care label before you start.
Step 2: Set the temperature of your iron. The temperature setting of your iron should match the fabric of your dress shirt. Different fabrics require different temperatures, so choose the right setting according to the instructions on the care label.
Step 3: Start with the collar and cuffs. Begin by laying the dress shirt flat on an ironing board. Start with the collar and cuffs, as these areas tend to have the most wrinkles. Press the iron against the fabric and move it in small circles until the wrinkles are gone.
Step 4: Move to the body and sleeves. Once you’ve ironed the collar and cuffs, move on the body and sleeves of the dress shirt. Again, press the iron gently against the fabric and move it in small circles until all the wrinkles are gone.
Step 5: Iron the back. Flip your dress shirt over and iron the back of the shirt. Make sure to focus on any areas that may have wrinkles or creases.
Step 6: Remove any remaining creases. You can use a hand steamer or spray bottle filled with water to help remove any stubborn creases that remain after ironing.
Step 7: Hang up the shirt. Once you’ve ironed your dress shirt, hang it on a hanger or lay it flat to cool before wearing it.
Related Read: Home Washing Dress Shirts: Skip The Dry Cleaner
Here Are Some Frequently Asked Questions
Why Do You Have To Put Water In An Iron?
Ironing clothes is an important part of the laundry process. Having the right amount of moisture in your iron allows you to remove wrinkles from garments effectively. When added to the iron, it helps create steam, which helps the fabric become smooth and free from wrinkles. Steam also helps to reduce static cling in some fabrics.
Adding water to iron also prevents scorching and burning, which can be caused by excessive heat and dryness. In addition, it helps protect delicate fabrics such as silk and lace that cannot withstand high temperatures without moisture. Finally, water in an iron acts as a lubricant, helping the soleplate glide more smoothly over the fabric, resulting in a crisper, cleaner finish.
What Setting Do You Iron Dress Shirts?
Ironing dress shirts is a delicate process that requires patience, attention to detail, and the right settings. You should use a steam iron on the cotton setting to get the best results. Before you begin, ensure the shirt is damp, either with a spray bottle or by running it through a gentle cycle in the washing machine. When the shirt is damp, place it on the ironing board and adjust the iron’s temperature to match the fabric.
Cotton is normally set at the highest temperature, usually around 200-220 degrees Celsius. For more delicate fabrics, such as linen and silk, you will need to lower the temperature to avoid damaging the material. Once the iron is heated, press down firmly and slowly on the cloth to remove wrinkles and creases.
Make sure to go over each area multiple times, paying special attention to the collar, cuffs, and button plackets.
After completing the ironing, hang the shirt on a hanger and let it dry completely before wearing it.
Related Read: What Shirt To Wear With Dress Pants
Can You Iron A Non-Iron Dress Shirt?
Yes, you can iron a non-iron dress shirt. Non-iron dress shirts are designed to be wrinkle-resistant. However, some wrinkles may remain no matter how carefully you wear and store the shirt. Ironing your non-iron dress shirt is a great way to make it look crisp and professional.
When ironing a non-iron dress shirt, it is important to take a few precautions to ensure that you do not damage the fabric. Start by setting the iron to the lowest heat setting possible. This will ensure that you don’t scorch or burn the material.
Once the iron is set, press firmly on each area for several seconds. Be sure to lift and move the iron as you work through different areas of the shirt to avoid scorching any one area for too long.
If you want to add extra protection to the shirt, you can place a cotton cloth between the iron and the shirt; this will help protect the fabric from direct contact with the iron. You should also be sure to leave the buttons unbuttoned while ironing, as they can easily become misshapen if pressed too hard.
To keep your non-iron dress shirt looking great, hang it up or fold it neatly and store it in a drawer or closet. This will help preserve the shirt’s crisp look and reduce the need to iron it again.
Recommended Read:
How To Dress Up And Down A Light Green Button-Up Shirt
Best Men’s Button-Up Shirts To Buy